

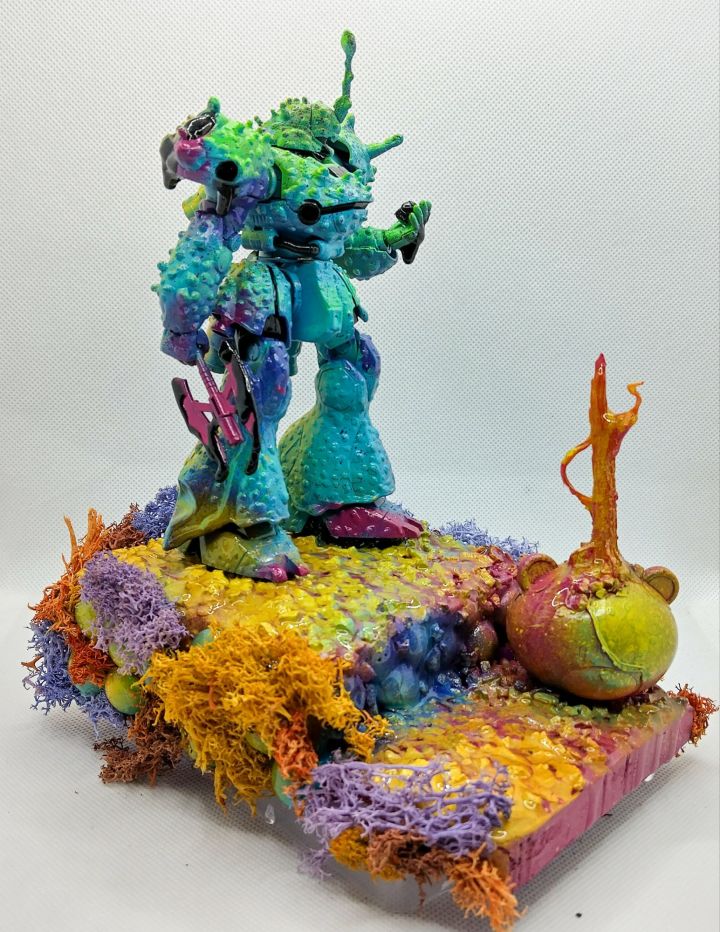
This might be my most ambitious work-in-progress with the 3D pen yet. The base kit was the HG TR-6 (Woundwort), which, to me, is a fairly elegant figure. My normal builds tend to be bulkier, like hygoggs or Kampfers.
And for those of you who don’t know, I tend to turn my latest projects into worldbuilding tools for my Prisma worldbuilding story (currently updating information slowly). It predominantly focuses on a hive mind that infects things, mainly mech builds. They do this with spores. These spores are grown and cared for in several ways. For this particular build, we’re looking at a spore incubator.
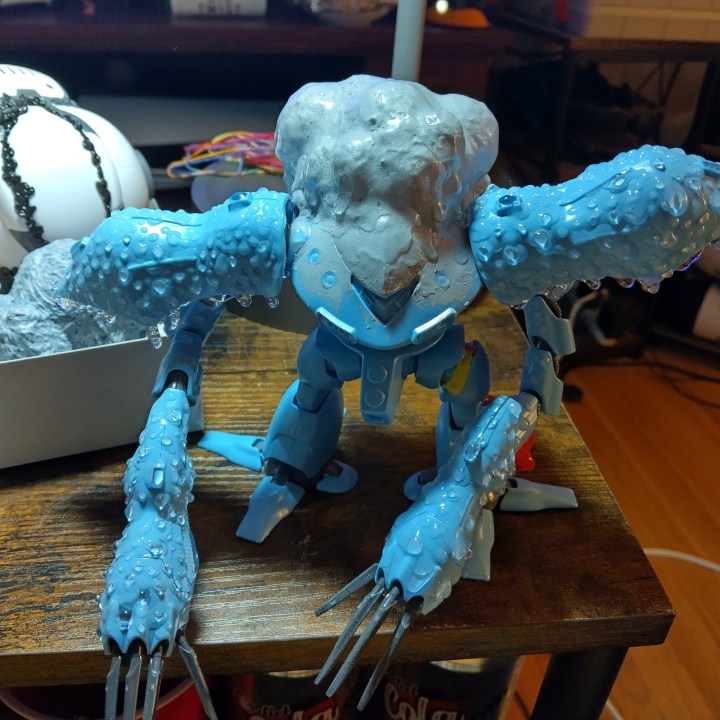
Other forms include spore nurseries, which are cared for by spore nannies (like this Kampfer). The bulbous growths are spore sacks. Spore nannies help keep out unwanted company.
Spore incubators are sometimes mobile or stationary hive members that grow the spores directly on them. This little woundwort will have a rump extension so that the growth is directly underneath them. Kind of like a pregnant crab or shrimp. Which means I’d have to extend the current butt out much.
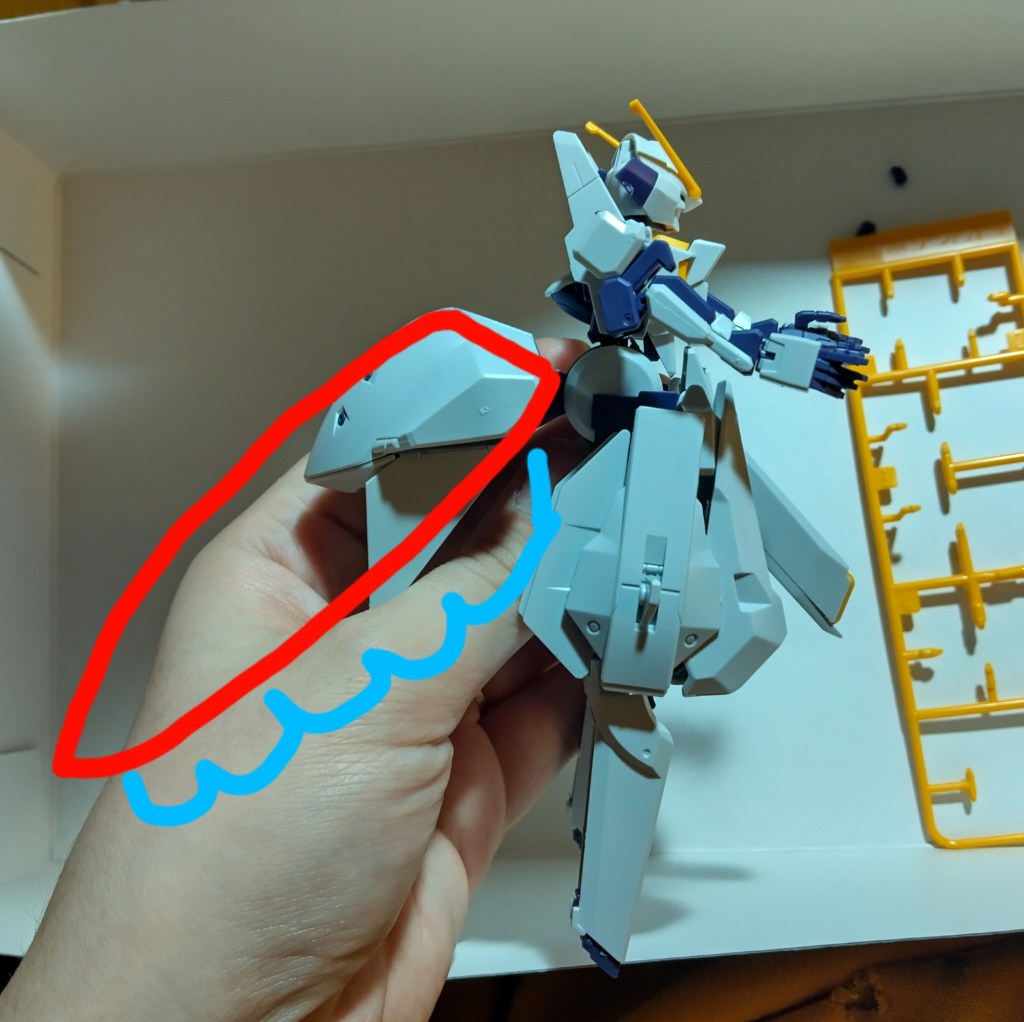
I could’ve done this with any piece of plastic or spare parts. Unfortunately, I was impatient and didn’t want to lose my current motivation for the project. So I busted out the handy 3D pen and got to work.
Also, a side tangent because this made me mad yesterday. Further into the project, my MYNT3D Pro 3D pen finally shit the bed. I was in such a groove working on this. I’m basic to using my basic pen. It’s okay, it just takes longer to heat up. Hobby peeves.
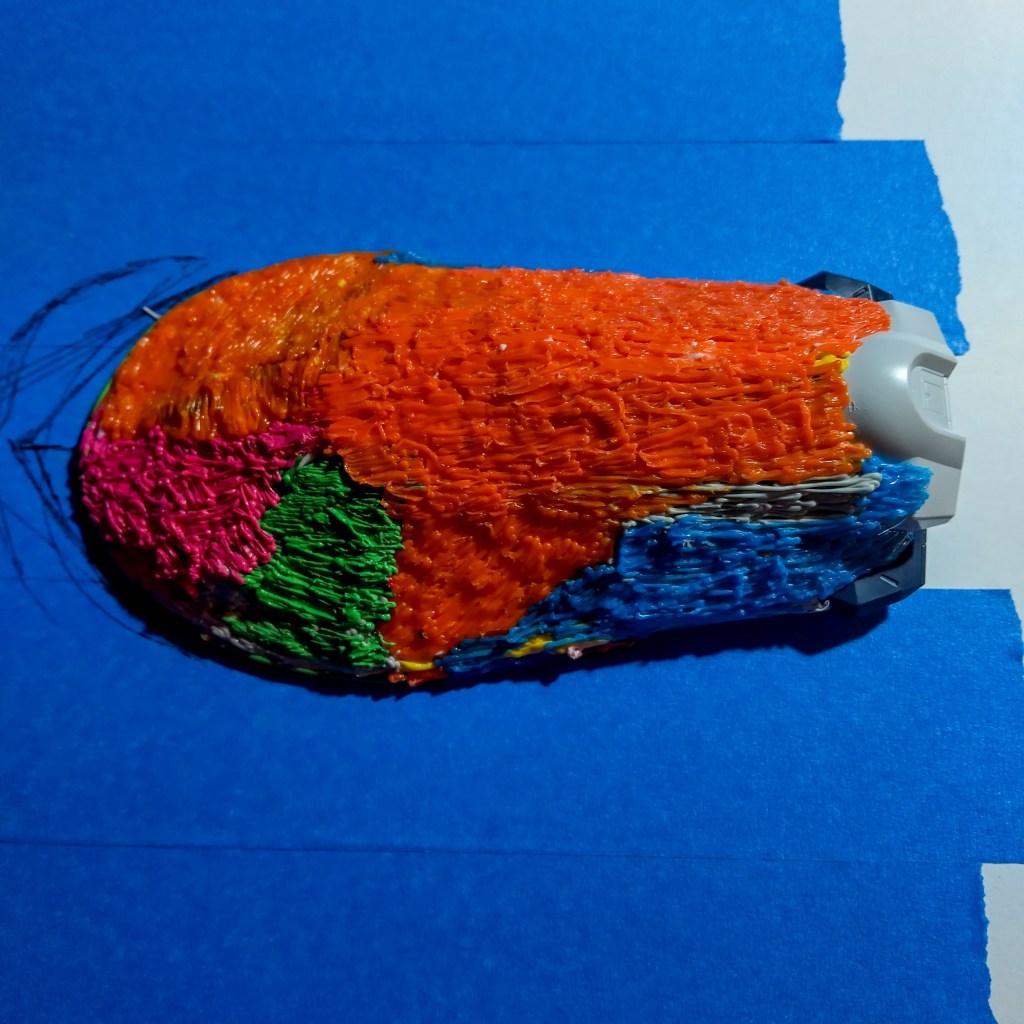
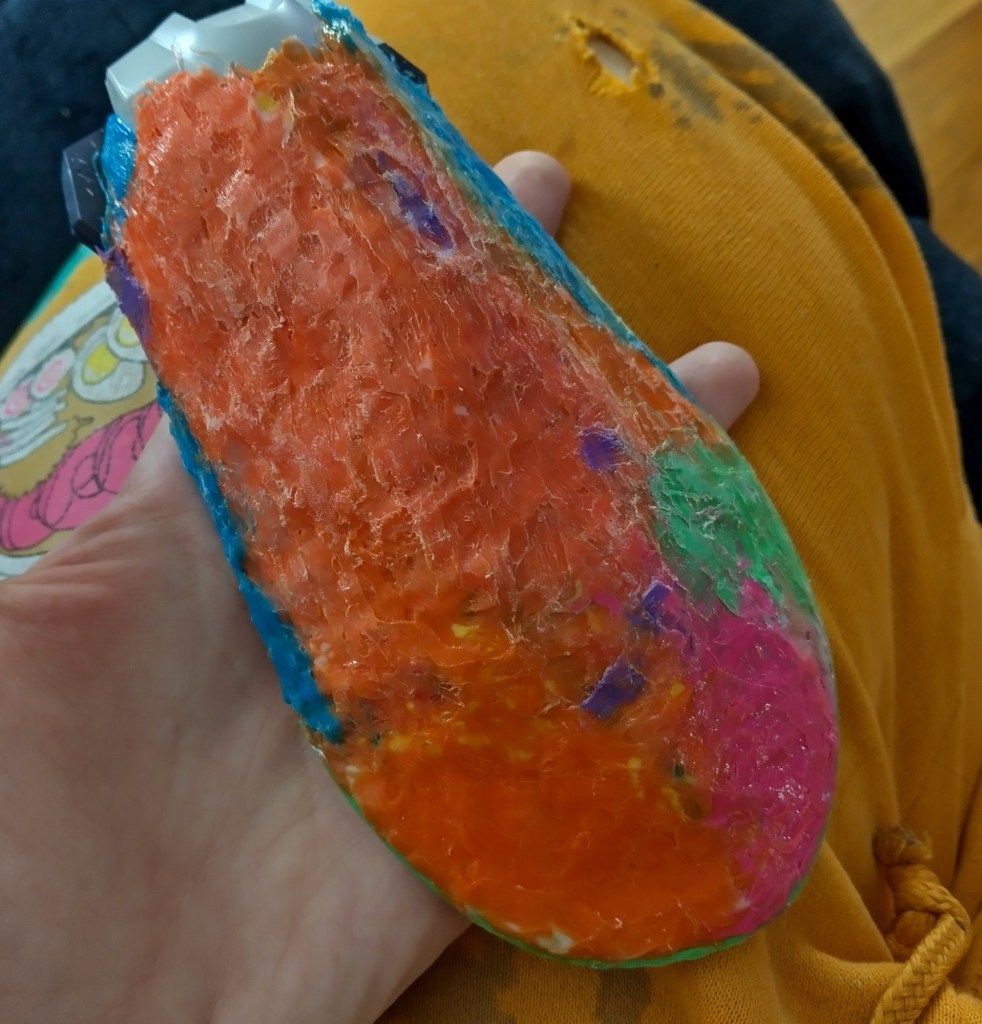
I did this by roughly sketching a shape on a spare piece of cardboard covered with painter’s tape. This helps adhere the filament in place while I work, but not permanently. It pops off with little force.
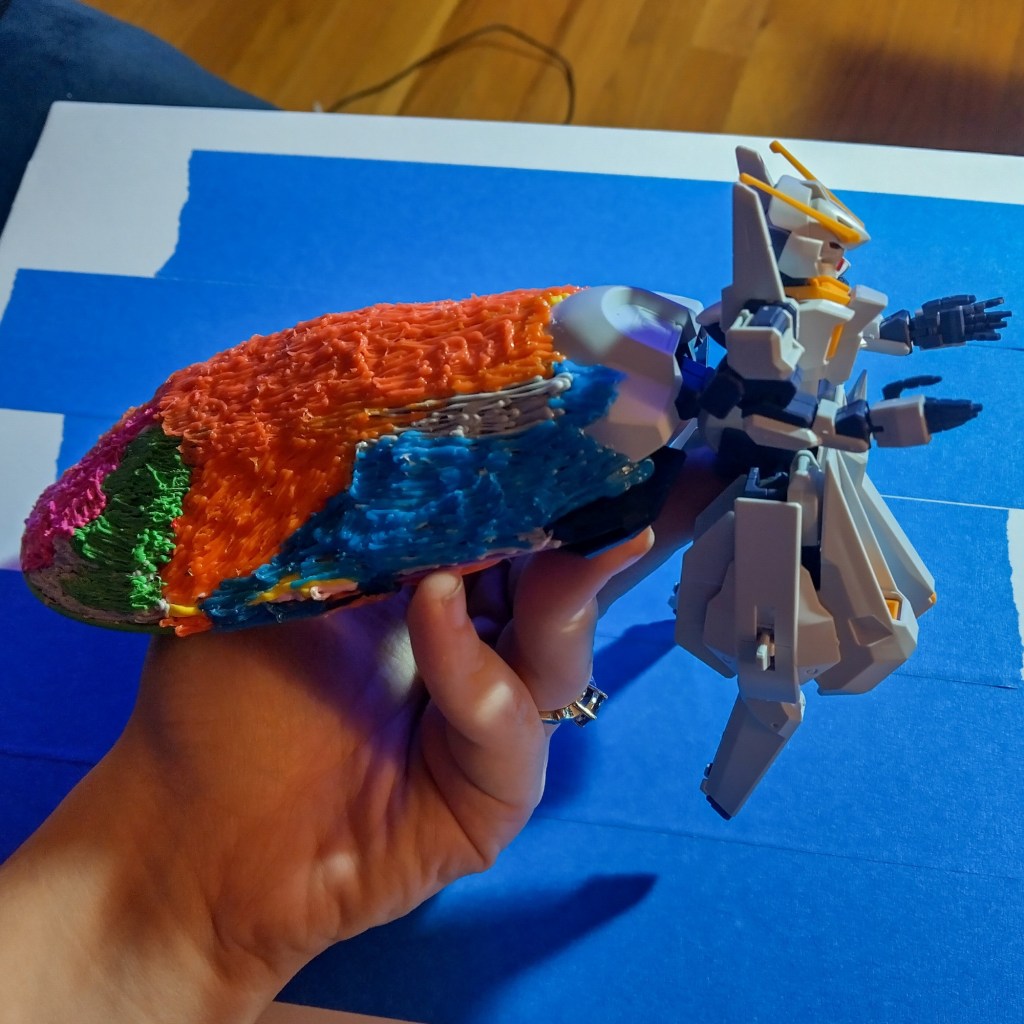
Once I had a basic shape, I started building up the rump. This took a while and helped me burn through some small filament bits I had taking up space on my craft cart.
Smoothing and sanding followed. A soldering iron comes in handy to smooth it out. Don’t set it to a ridiculously high temp. It can burn the filament. Make sure to do it in a well-ventilated area.
I would’ve sanded this down with a Dremel after if I could find mine. I couldn’t. Sad times indeed, because I roughly sanded it out with a file. Not pretty. Not the best. I’m not too concerned. It’ll smooth out with a resin coat down the road.
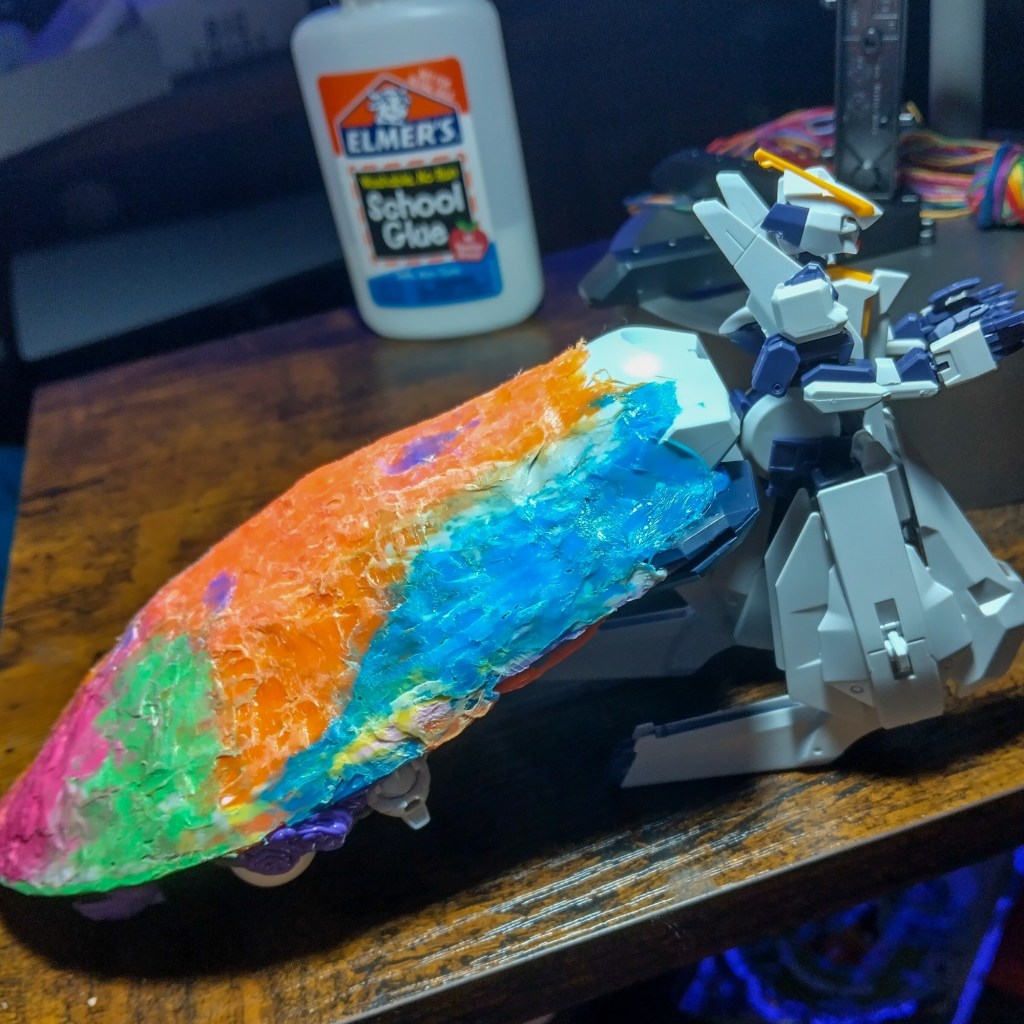
I was going to smooth it out with glue like other builds. However, I want to try partially submerging the build in a resin pool. Not sure if the Elmer’s would react negatively to that.
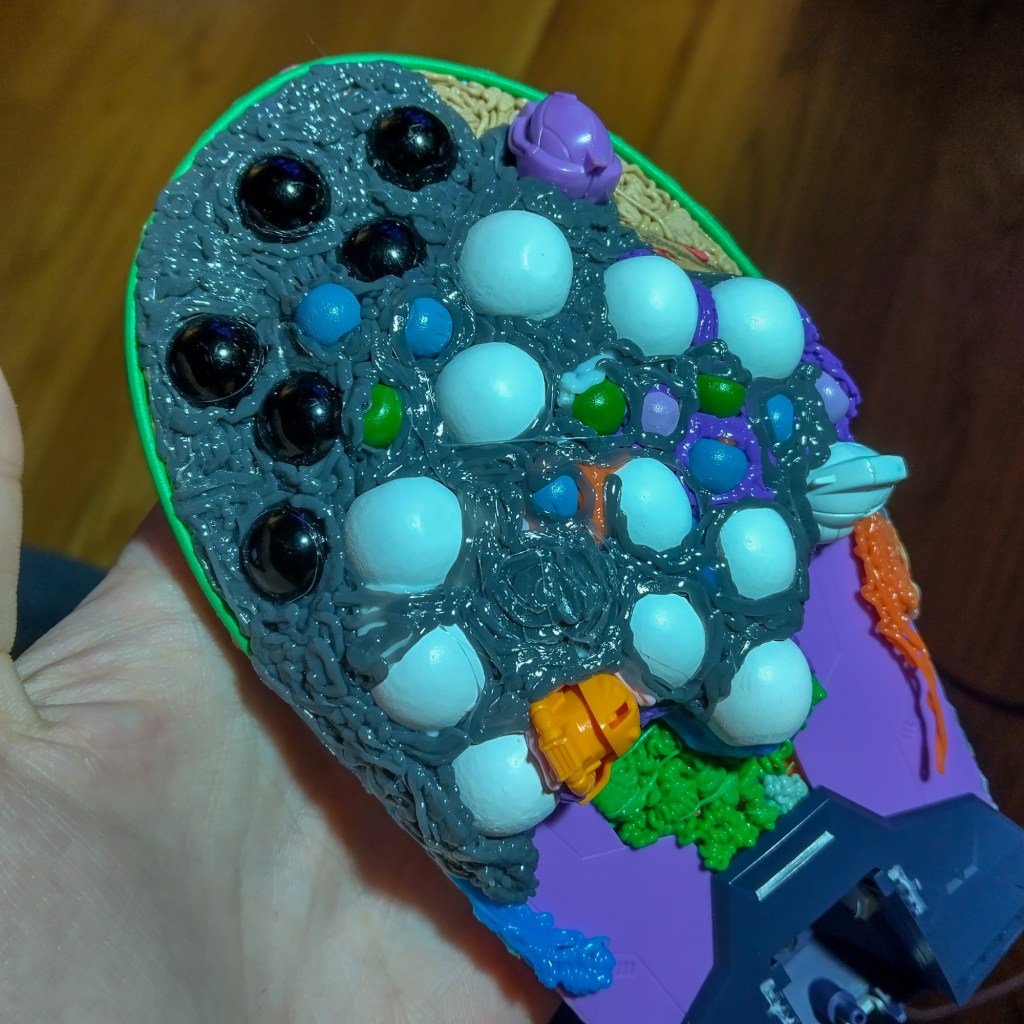
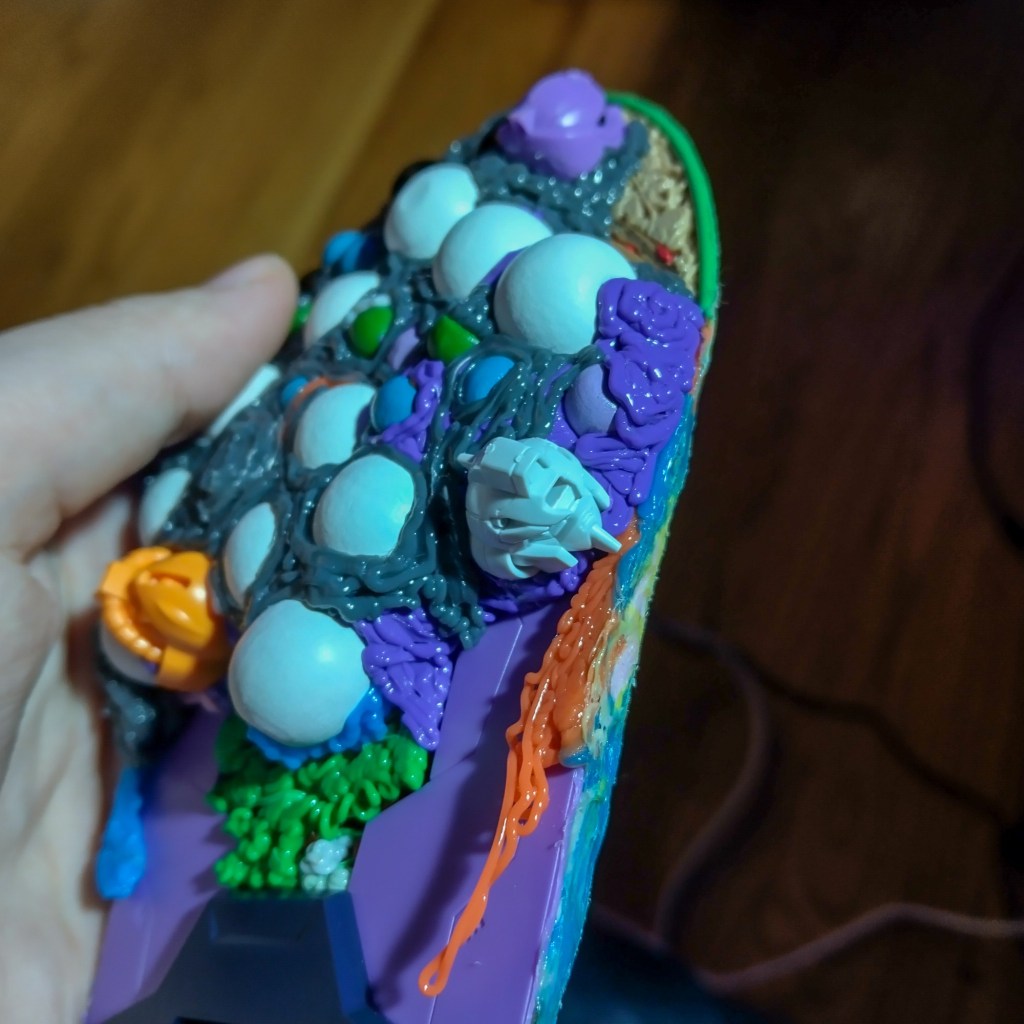
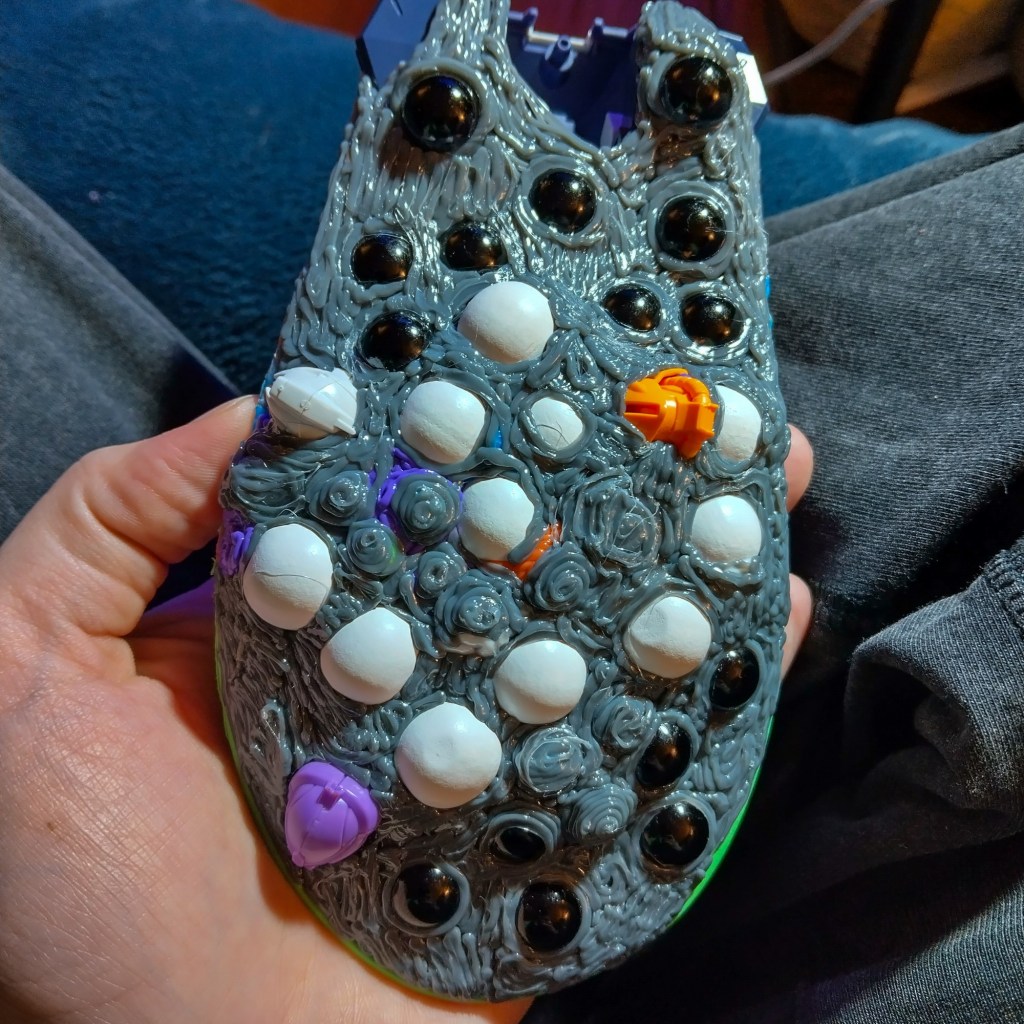
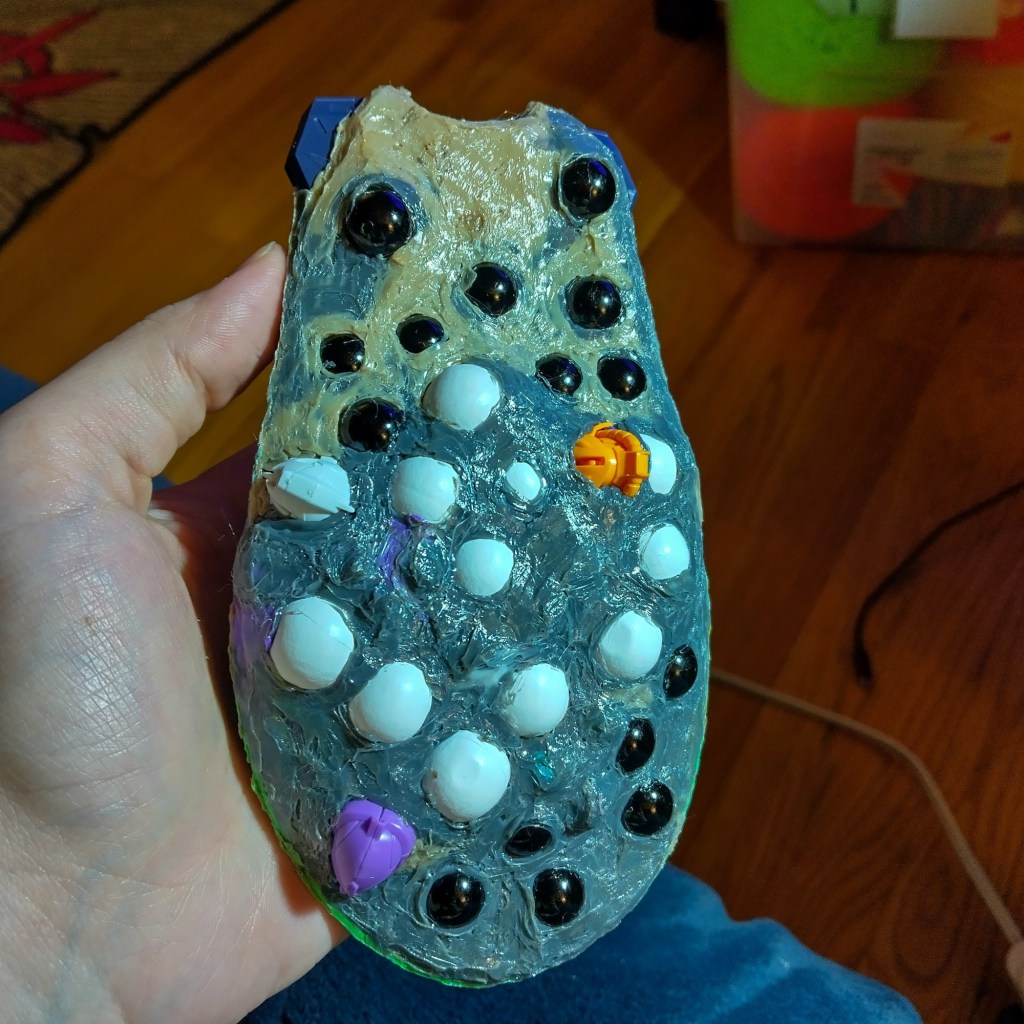
Rinse and repeat with the underneath. I used beads, spare heads, and safety eyes to get the bottom texture. Then I slowly, incredibly slow, smoothed it out with a flat soldering tip. The safety eyes melt easily. It was a challenge.
Moving on from that, I set out to make the main body pose. The alien queen is where I drew most of this inspiration from.
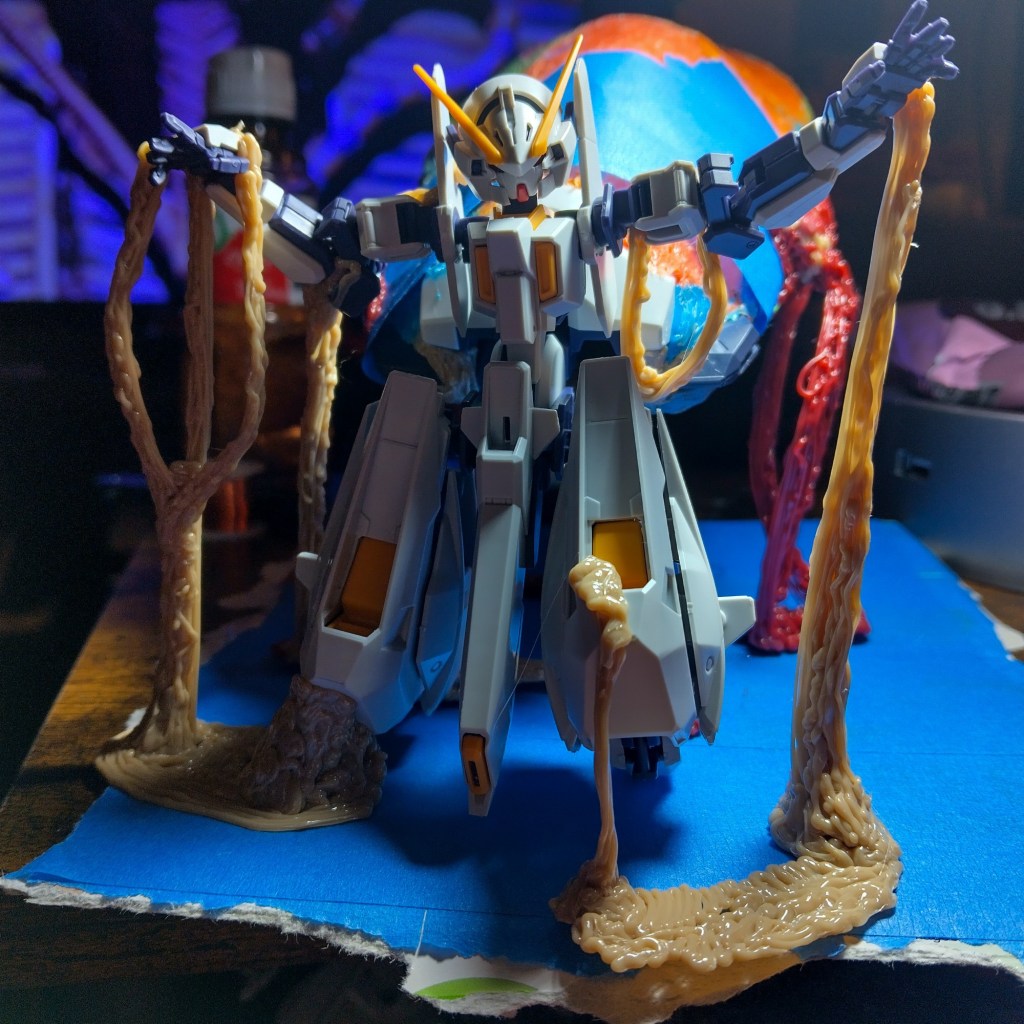
Next came the stand to keep the backend up. This was a pain in the ass, pun mildly intended. It didn’t want to stick to the painter’s tape I wrapped around the end. So I switched to tinfoil with only mild success. Eventually, it worked out.
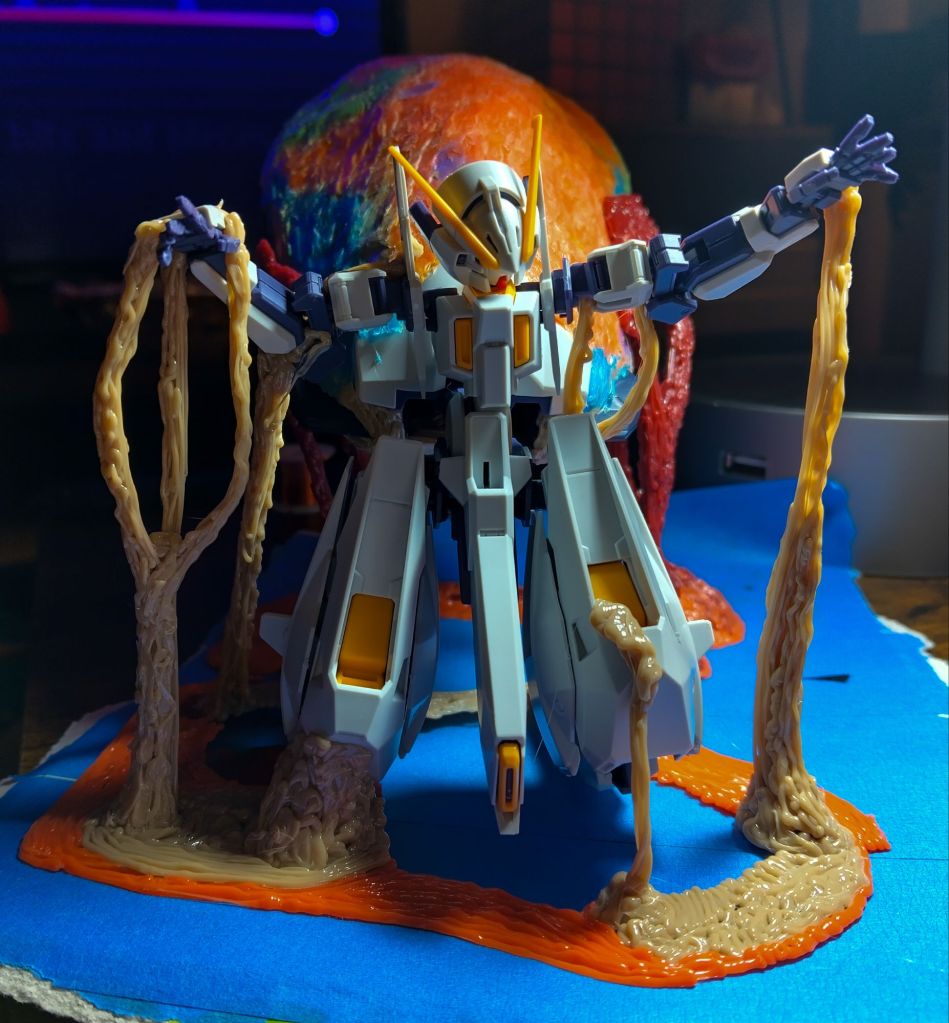
I made it separate from the main end because I wanted to have access to still work on the rump without awkward hand angles needed.

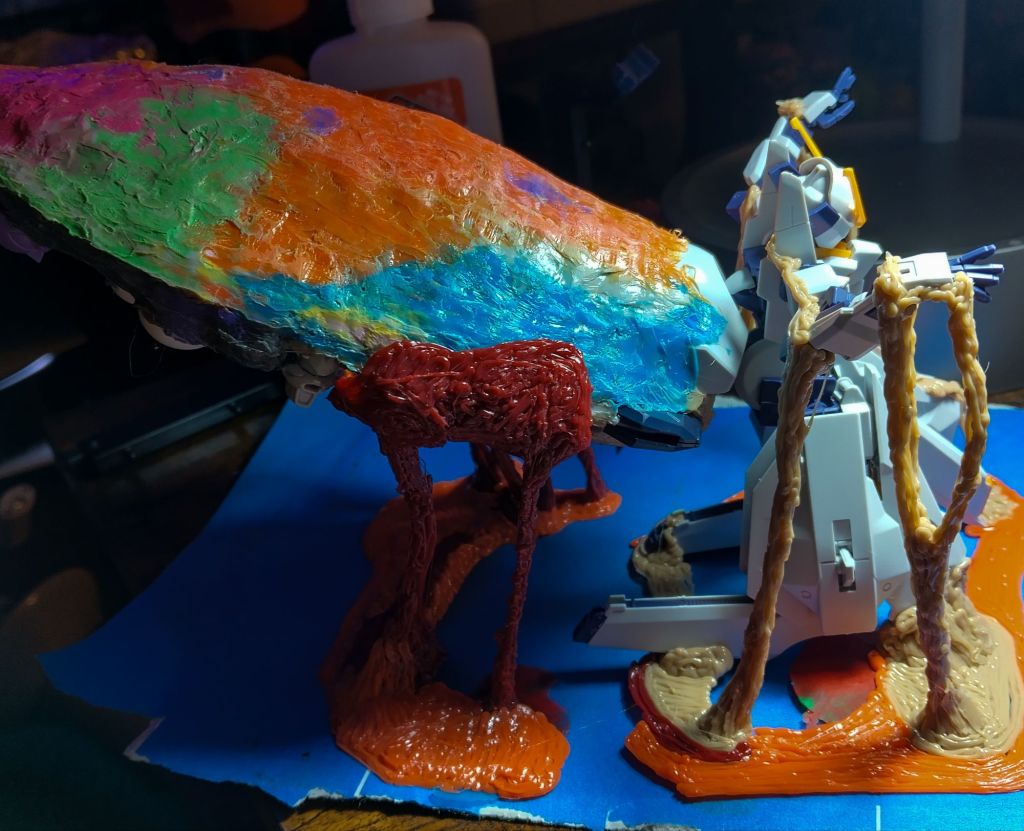
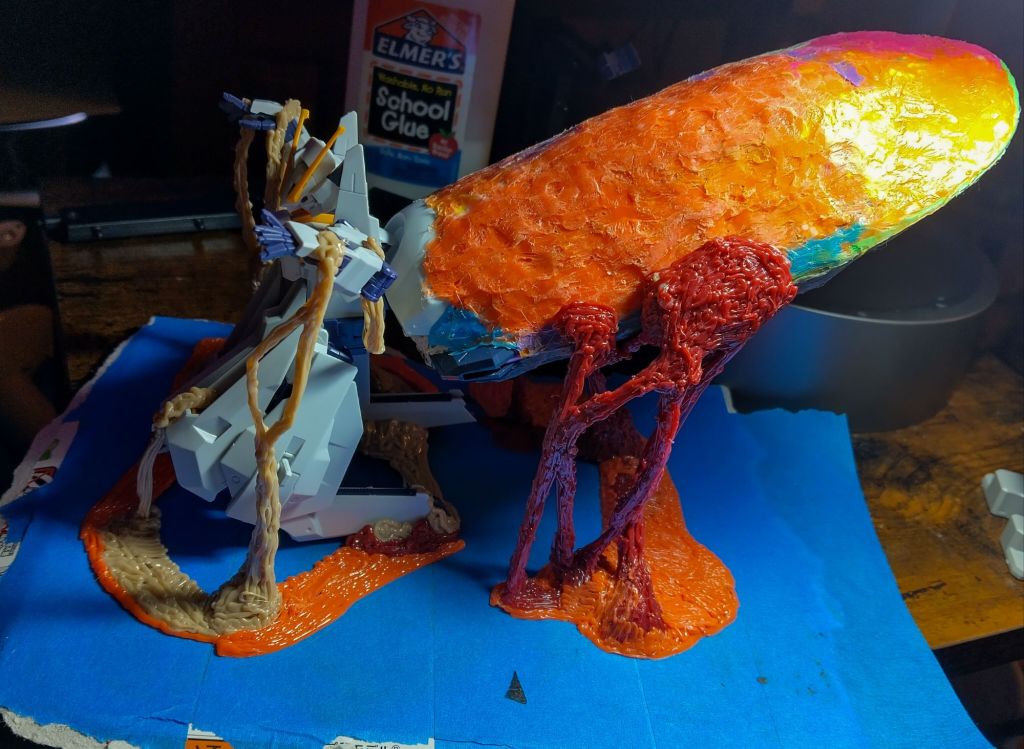
This is a stationary spore incubator compared to the hygogg beneath, which is a mobile spore incubator.
I do have a brain worm to get some more woundworts as hive guards, since it is a station incubator. Not sure how large I want the diorama to be yet. Might do another Annihilation and Scavenger Reign marathon if the snow doesn’t let up tomorrow. So who knows what I’ll come up with.
Want to support our blog? Then sign up for email notifications. We also got a snazzy Discord server!
Keep safe from the weather! – J
